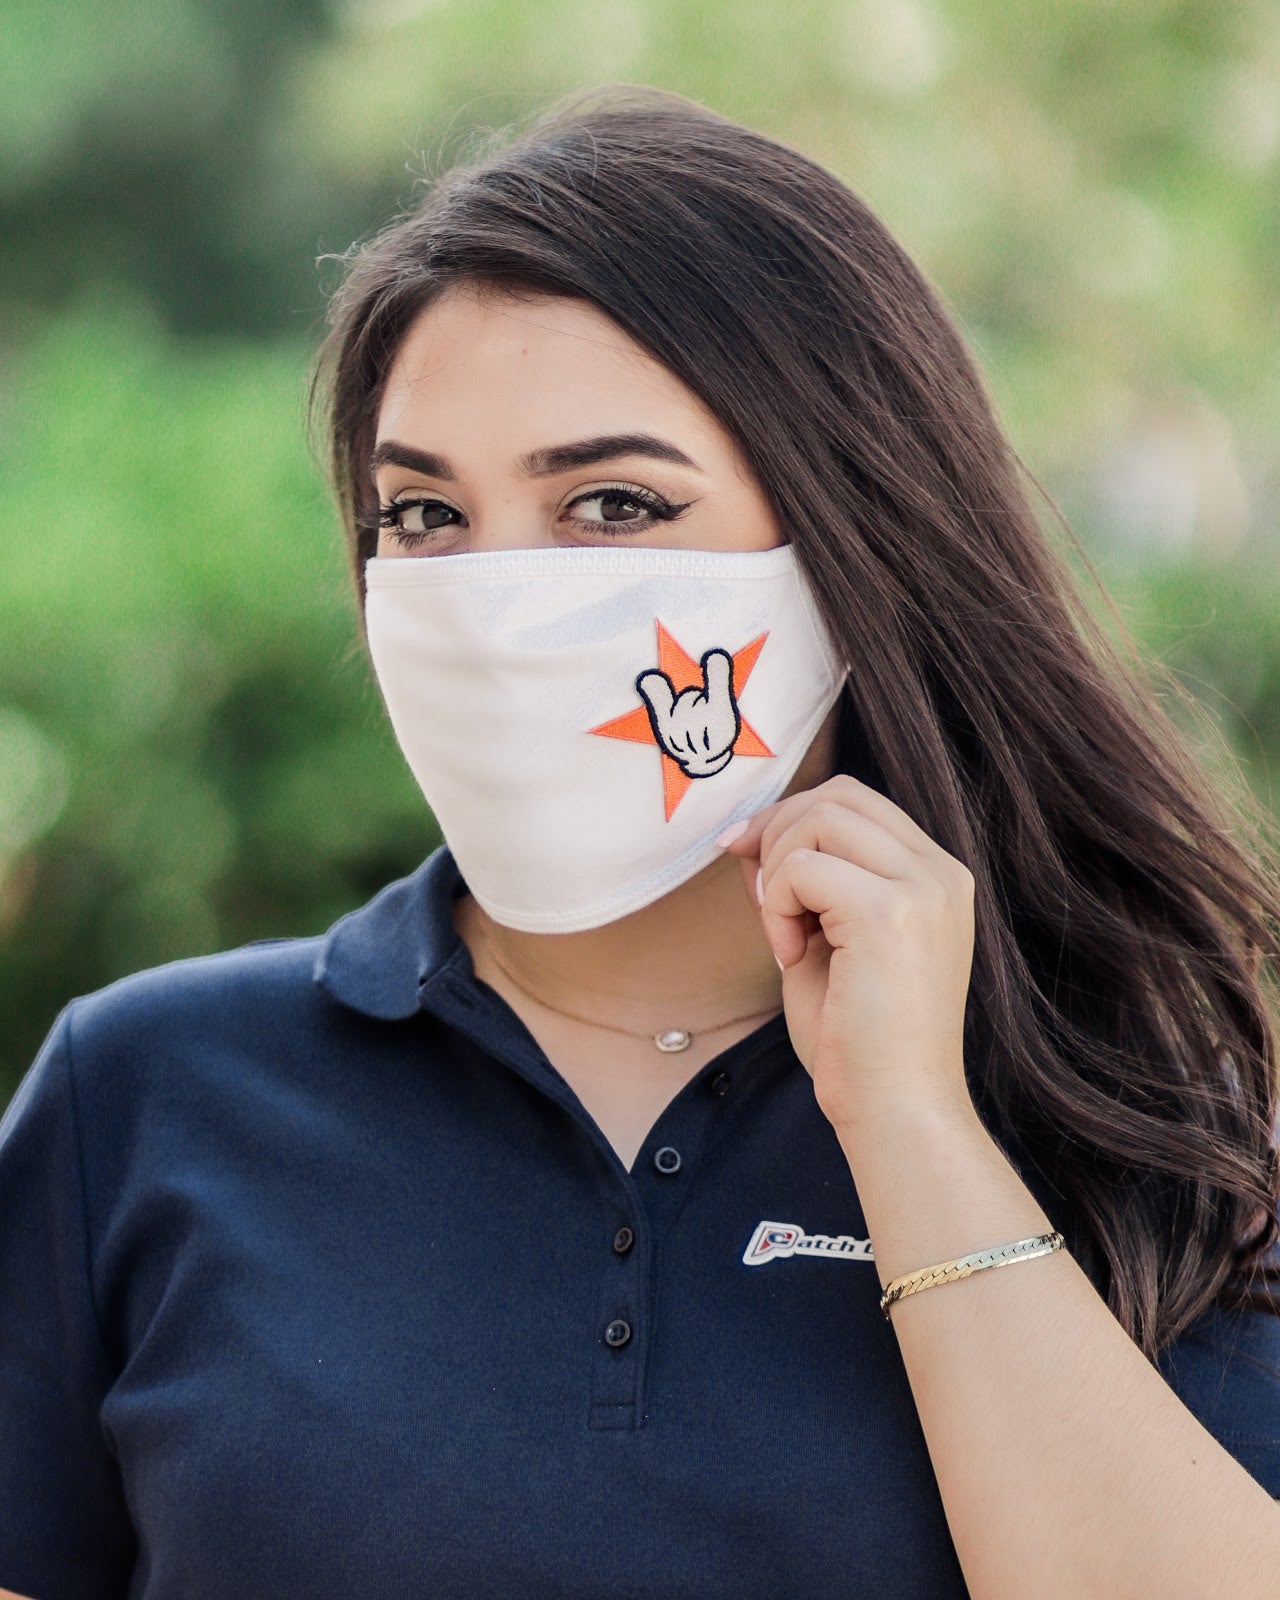
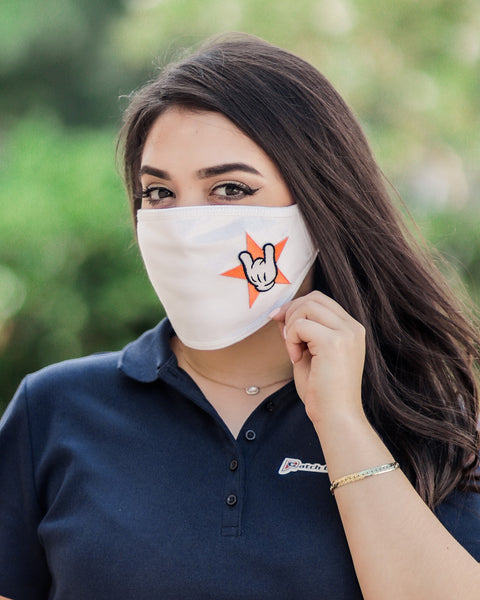
Face masks have become a normal part of life during this unprecedented time of Covid-19. At Patch Collection, we want to show how you can easily turn your boring face mask into a customized accessory that will allow you to express your personal style and attitude while staying safe!
Customizing your mask is super quick and simple! Follow our step-by-step process below to learn how you can use our easy to apply iron-on patches to create one-of-a-kind face masks.
What you’ll need:
- Your desired patch
- Cloth face mask
- Clothing iron & ironing board
- White t-shirt or cloth
Step 1: Choose your mask and your favorite patch!
At www.shoppatchcollection.com, you can find a wide variety of patch categories to pick from. There’s a patch for everyone! From Pop Culture, Disney, Anime, Sports, Marvel, and so much more, we have it all!
Remember, make sure to pick a correctly sized patch that will fit your face mask dimensions.
Step 2: Prepare your clothing iron
Preheat the iron for 5 minutes on the highest setting. Once the iron is ready, check that you have your steam settings turned off!
Step 3: Patch placement
Lay the mask out flat on your ironing board and place your patch in the desired spot.
Step 4: Iron the patch onto your mask
Cover the mask with the white t-shirt or cloth and iron firmly for 25 seconds.
Next, turn the face mask upside down, with your patch facing down onto the ironing board. Repeat the ironing process again by covering the mask with the t-shirt or cloth and iron firmly for another 25 seconds.
Step 5: Let it cool
Wait 1 minute to let the patch and the mask cool off. After that, Gently check if the patch(es) adhered properly. Repeat step 4 if needed.
Step 6: Show off your stylish and new customized mask when you go out & about!
And don’t forget to share pictures of it and tag @Patch_Collection on your social media too!
More of a visual learner? Head over to our Instagram to see this process!


0 comments